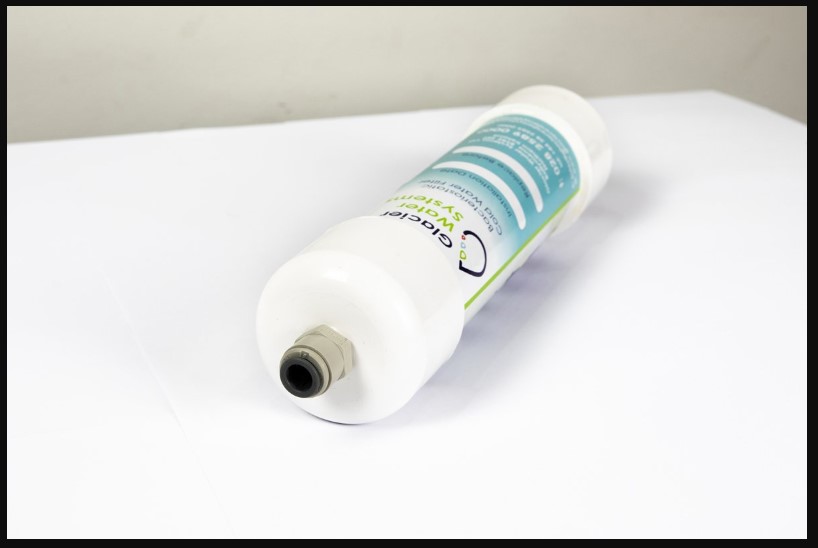
Ensuring your household water is clean and safe is crucial for your family’s health. One effective way to achieve this is by installing an inline water filter. Inline water filters are designed to remove impurities and improve the quality of your water.
This guide will walk you through installing an inline water filter, ensuring you can access clean water quickly.
Why Install an Inline Water Filter?

1. Improved Water Quality
Inline water filters remove contaminants such as chlorine, lead, sediment, and other impurities, providing you with clean and safe water.
2. Cost-Effective
Installing an inline water filter is more cost-effective than buying bottled water or more extensive filtration systems.
3. Easy Maintenance
Inline water filters are relatively easy to maintain and replace, ensuring consistent water quality.
Tools and Materials Needed
Before you start the installation process, gather the following tools and materials:
- Inline water filter kit
- Adjustable wrench
- Pipe cutter or hacksaw
- Teflon tape
- Bucket or towel
- Marker or pencil
- Measuring tape
Step-by-Step Guide to Installing an Inline Water Filter
Step 1: Choose the Installation Location
Select a convenient location for installing the inline water filter. Common places include under the sink, near the water heater, or along the main water line. Ensure the location is accessible for future maintenance and filter changes.
Step 2: Turn Off the Water Supply
Before installing, turn off the main water supply to prevent leaks or water damage. Open a faucet to relieve any remaining pressure in the pipes.
Step 3: Measure and Mark the Pipe
Using a measuring tape, measure the length of the inline filter housing. Mark the section of the pipe where the filter will be installed. Ensure you leave enough space for the filter and any connectors.
Step 4: Cut the Pipe
Use a pipe cutter or hacksaw to cut the pipe at the marked points. Place a bucket or towel underneath the pipe to catch any water that may spill out.
Step 5: Install the Filter Housing
Apply Teflon tape to the threads of the filter housing connectors to ensure a watertight seal. Attach the filter housing to the cut pipe, following the manufacturer’s instructions. Use an adjustable wrench to tighten the connections securely.
Step 6: Connect the Filter
Insert the inline water filter cartridge into the housing, ensuring it is properly seated. Secure the housing cap according to the manufacturer’s instructions.
Step 7: Turn On the Water Supply
Slowly turn on the main water supply and check for any leaks. If you notice any leaks, tighten the connections further and ensure the Teflon tape is correctly applied.
Step 8: Flush the Filter
Run water through the filter for several minutes to flush out any air bubbles and activate the filter media. This step is crucial to ensure the filter works correctly and provides clean water.
Step 9: Check and Maintain
Regularly check the filter for any signs of wear or leaks. Replace the filter cartridge according to the manufacturer’s recommendations to maintain optimal water quality.
Tips for Maintaining Your Inline Water Filter
1. Regular Inspections
Periodically inspect the filter and its connections to ensure there are no leaks or issues.
2. Timely Replacements
Follow the manufacturer’s guidelines for replacing the filter cartridge to ensure continued water quality.
3. Keep Spare Parts
Keep spare filter cartridges and any necessary tools on hand for quick and easy replacements.
Conclusion
Installing an inline water filter is straightforward and provides numerous benefits for household water quality.
By following this step-by-step guide, you can ensure clean, safe, and great-tasting water for you and your family. Regular maintenance and timely replacements will keep your water filter functioning optimally for years to come.

